Categories
Blog

What is a wire transfer: A thorough overview

Wire Transfers: A Thorough Overview

Wire transfers are a common method of transferring funds from one entity to another, whether domestically or internationally. This electronic transfer of money is often used for large transactions where the speed of the transfer is crucial. Understanding how wire transfers work, the associated fees, and the advantages and disadvantages can help you decide if this method of sending money is right for you.

How Does a Wire Transfer Work?

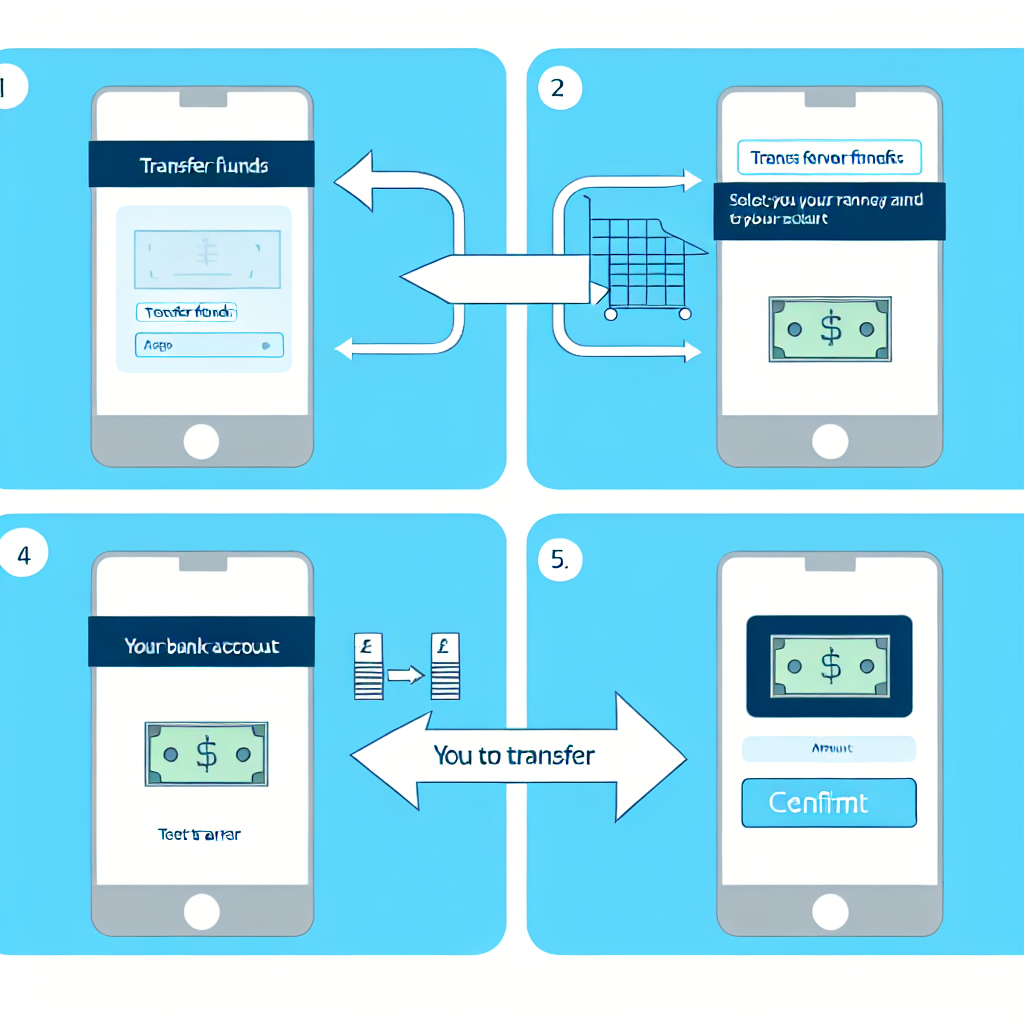
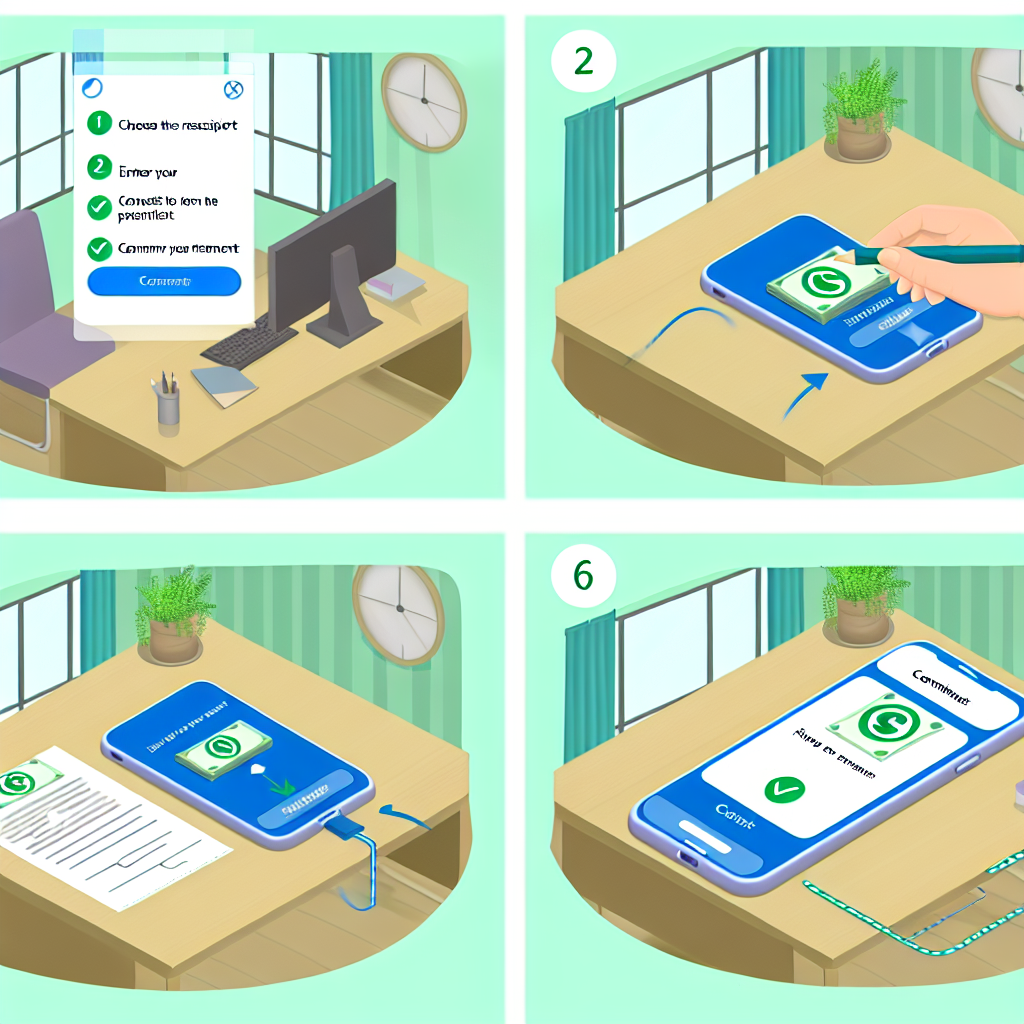
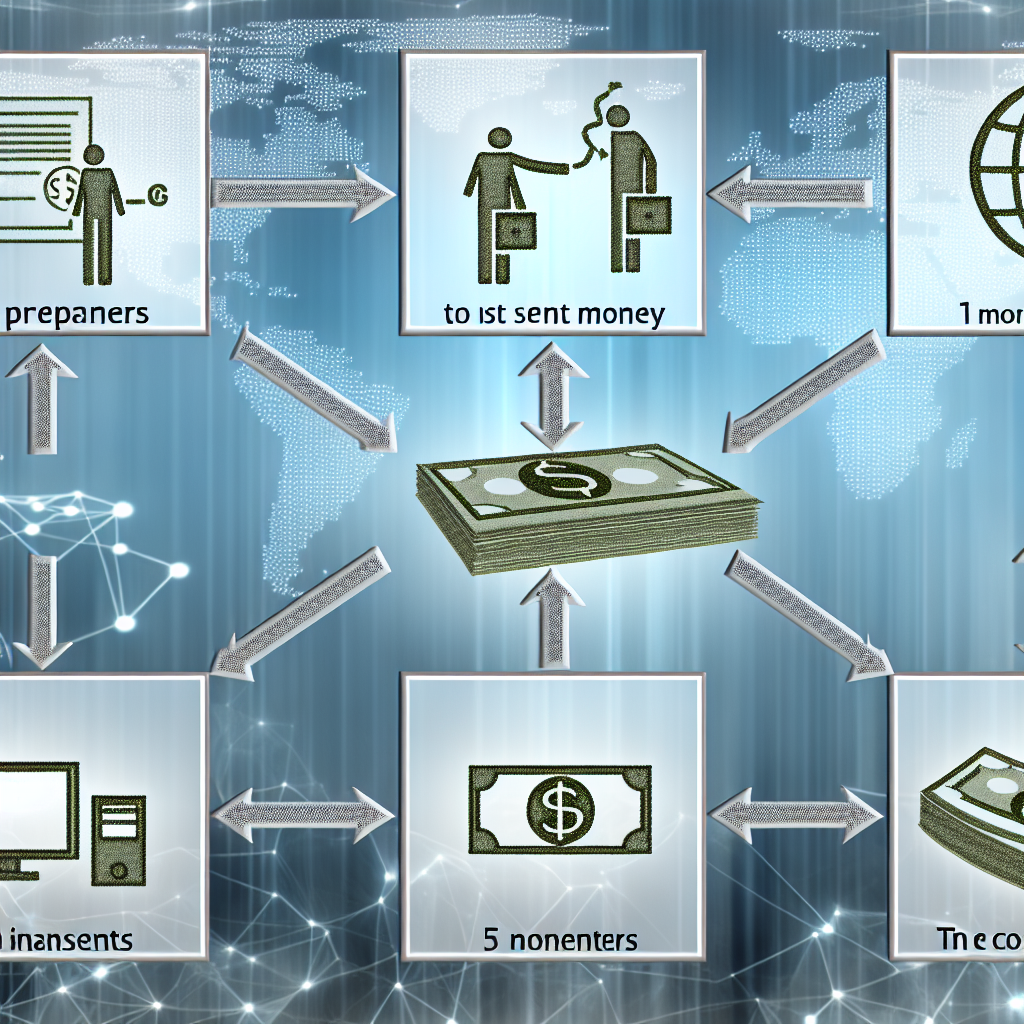
When you initiate a wire transfer, the money moves from one bank or credit union to another through a secure network. The sender provides the necessary account and routing information, as well as the amount to be transferred. The financial institutions involved in the transfer communicate through the network to facilitate the transaction. Once the transfer is complete, the recipient can access the funds relatively quickly, often on the same day.

Wire transfers can be done at a physical bank branch, through online banking, or over the phone. Banks typically charge a fee for outgoing wire transfers, and sometimes for incoming wire transfers as well. These fees can vary depending on the financial institution and whether the transfer is domestic or international.

Domestic vs. International Wire Transfers

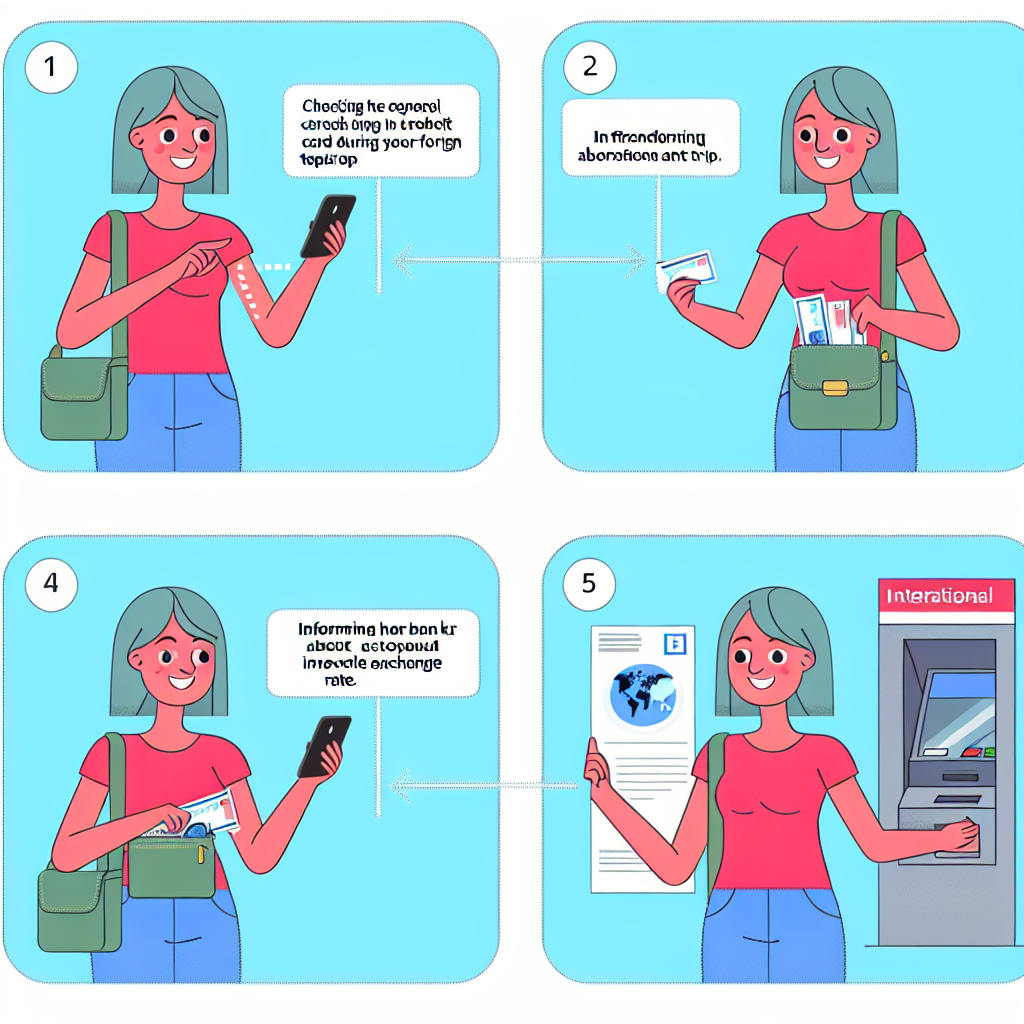
Domestic wire transfers involve sending money within the same country, usually in the local currency. These transfers are typically faster and less expensive than international wire transfers. In contrast, international wire transfers involve sending money between two different countries or in different currencies. Due to the additional complexity and involvement of multiple financial institutions, international wire transfers may take longer to process and incur higher fees.

Advantages of Wire Transfers

One of the primary advantages of wire transfers is the speed of the transaction. Unlike other payment methods, such as checks or ACH transfers, wire transfers can be completed and the funds made available within the same day. This makes wire transfers ideal for situations where time is of the essence, such as real estate transactions, large purchases, or emergency funds transfers.

Another advantage of wire transfers is the security they offer. Since wire transfers are facilitated through a secure network and require verification of account information, they are considered a safe way to send money. Once the transfer is complete, the sender and recipient can be confident that the funds have been successfully delivered.

Disadvantages of Wire Transfers

Despite their speed and security, wire transfers also have some disadvantages. One of the main drawbacks is the cost associated with this method of transferring money. Banks often charge fees for both outgoing and incoming wire transfers, which can add up, especially for international transactions. Additionally, the exchange rates used for international wire transfers may not always be favorable, resulting in additional costs for the sender or recipient.

Another potential disadvantage of wire transfers is the lack of recourse in case of errors. Once a wire transfer is initiated, it can be difficult to reverse or cancel the transaction. If there is a mistake in the account information provided, it could result in the funds being sent to the wrong recipient, with little opportunity for recovery.

Conclusion

Wire transfers are a fast and secure way to send money, particularly for large transactions or when speed is essential. Understanding how wire transfers work, the associated fees, and the advantages and disadvantages can help you make an informed decision about whether to use this method of transferring funds. While wire transfers offer speed and security, it is important to be aware of the potential costs and limitations to ensure that this payment method is the right choice for your needs.

Categories
Blog

The best debit cards for international travel in 2024

The Importance of Choosing the Right Debit Card for International Travel

When traveling abroad, having the right debit card can make a significant difference in your overall experience. The best debit cards for international travel offer benefits such as low or no foreign transaction fees, wide acceptance, robust security features, and convenient access to ATMs worldwide. With the multitude of options available in the market, it’s crucial to select a debit card that aligns with your travel needs and preferences to ensure a hassle-free and seamless journey.

Factors to Consider When Choosing a Debit Card for International Travel

Before embarking on your international adventure, it’s essential to consider several key factors when selecting a debit card:

  • **Foreign Transaction Fees** – Look for debit cards that offer low or no foreign transaction fees to avoid incurring additional charges when making purchases abroad.
  • **ATM Access** – Ensure that your debit card provides access to a wide network of ATMs globally to conveniently withdraw cash in local currencies without excessive fees.
  • **Security Features** – Opt for a debit card with robust security features such as EMV chip technology, biometric authentication, and real-time transaction alerts to protect against fraud and unauthorized use.
  • **Acceptance** – Choose a debit card that is widely accepted at merchants, restaurants, and ATMs worldwide to avoid any inconvenience during your travels.
  • **Travel Rewards** – Consider debit cards that offer travel rewards, such as cashback on purchases, airline miles, or hotel discounts, to maximize your savings and enhance your travel experience.

The Best Debit Cards for International Travel in 2024

Here are some of the best debit cards for international travel in 2024, known for their exceptional features, benefits, and global acceptance:

  • Chase Sapphire Checking Account
  • Schwab Bank High Yield Investor Checking Account
  • Capital One 360 Checking Account
  • HSBC Premier Debit Card
  • Revolut

1. Chase Sapphire Checking Account

The Chase Sapphire Checking Account is an excellent choice for international travelers due to its numerous benefits, including no foreign transaction fees, access to a vast network of ATMs worldwide, and travel insurance perks. Additionally, account holders can earn rewards points that can be redeemed for travel-related expenses, making it a top contender for frequent flyers and globetrotters.

2. Schwab Bank High Yield Investor Checking Account

The Schwab Bank High Yield Investor Checking Account is highly recommended for international travelers seeking a debit card with no foreign transaction fees and unlimited ATM fee reimbursements globally. This account is ideal for budget-conscious travelers who want to avoid unnecessary charges and fees while accessing their funds conveniently during their travels.

3. Capital One 360 Checking Account

The Capital One 360 Checking Account is a popular choice for international travelers due to its no foreign transaction fees, competitive exchange rates, and robust mobile banking features. With a user-friendly interface and 24/7 customer support, this debit card offers convenience and security for those exploring destinations around the world.

4. HSBC Premier Debit Card

The HSBC Premier Debit Card is tailored for high-net-worth individuals and frequent travelers, offering exclusive benefits such as no foreign transaction fees, worldwide ATM access, and personalized concierge services. With enhanced security features and luxury perks, this debit card caters to the needs of discerning travelers seeking a premium banking experience.

5. Revolut

Revolut is a digital banking platform that provides users with a multi-currency account, a prepaid debit card, and various innovative features for seamless international travel. With features such as real-time currency exchange, budgeting tools, and instant money transfers, Revolut is a smart choice for modern travelers looking for flexibility, convenience, and cost-saving options on the go.

Conclusion

Choosing the best debit card for international travel is a crucial decision that can impact your overall travel experience. By considering factors such as foreign transaction fees, ATM access, security features, acceptance, and travel rewards, you can select a debit card that aligns with your needs and preferences while exploring the world. The debit cards mentioned above offer exceptional benefits and features that cater to the diverse requirements of international travelers, ensuring a smooth and enjoyable journey wherever your adventures take you.

Categories
Blog

What is PayPal Goods and Services & How to Use it?

What is PayPal Goods and Services & How to Use it?

PayPal is a widely used online payment platform that allows users to make payments, transfer money, and pay for goods and services securely. One of the key features of PayPal is the ability to send money for goods and services, which provides buyer protection and a seamless way to make purchases online.

What are PayPal Goods and Services?

PayPal offers two main types of transactions: Friends and Family payments and Goods and Services payments. When you use PayPal to send money for goods and services, you are utilizing the Goods and Services option. This type of transaction is typically used for purchasing items online, paying for services, or sending money to a business.

When you make a payment for goods and services through PayPal, you are eligible for PayPal’s Purchase Protection program. This program helps protect buyers in case the goods or services they paid for are not as described or if they do not receive the items at all. It provides a level of security and confidence for online shoppers, making it a preferred method of payment for many.

How to Use PayPal Goods and Services:

Using PayPal Goods and Services is simple and straightforward. Here is a step-by-step guide on how to make a payment for goods and services through PayPal:

  1. Set up a PayPal account: If you don’t already have a PayPal account, you will need to create one. Visit the PayPal website and sign up by providing your email address, creating a password, and adding your preferred payment methods.
  2. Verify your account: To fully utilize PayPal’s features, you may need to verify your account by linking a bank account or a credit/debit card.
  3. Find the item or service you want to purchase: Browse the internet and find the item or service you wish to buy. Look for sellers or businesses that accept PayPal as a payment method.
  4. Proceed to checkout: When you are ready to make a purchase, proceed to the checkout page. Select PayPal as your payment method.
  5. Choose Goods and Services: During the payment process, make sure to select the Goods and Services option. This will ensure that your transaction is covered by PayPal’s Purchase Protection.
  6. Enter the required information: You may need to provide your shipping address, contact information, and any other details required by the seller to complete the transaction.
  7. Review and confirm: Double-check all the information provided, including the payment amount, shipping details, and the seller’s terms and conditions. Once you are satisfied, confirm the payment.
  8. Receive your purchase: After the payment is completed, the seller will process your order, and you will receive the goods or services you purchased. If there are any issues with the transaction, you can reach out to PayPal’s customer support for assistance.

Using PayPal Goods and Services not only offers convenience but also provides peace of mind knowing that your transactions are protected. Whether you are buying goods from an online store or paying for services, PayPal’s secure payment platform ensures a smooth and secure experience for both buyers and sellers.

Categories
Blog

Is Wise safe?


Is Wise Safe?

**Wise**, formerly known as TransferWise, is a popular online money transfer service that allows you to send and receive money internationally at a low cost and with great exchange rates. With the convenience it offers, you might be wondering about its safety and security features. Let’s delve into whether **Wise** is safe to use for your financial transactions.

Security Measures

When it comes to the security of your money and personal information, **Wise** takes several measures to ensure the safety of its users. One of the key aspects of **Wise**’s security is its authorization and regulation as a financial institution. **Wise** is authorized by the Financial Conduct Authority (FCA) in the UK, which means it has to adhere to strict regulations regarding the protection of customer funds.

Additionally, **Wise** uses encryption technology to protect your data during transfer and storage. This means that your sensitive information, such as bank details and personal identification, is scrambled and kept secure from potential hackers or unauthorized access. The use of encryption adds an extra layer of security to your transactions with **Wise**.

Regulation and Compliance

**Wise** operates globally and has to comply with regulations in various countries where it provides its services. This means that **Wise** has to meet regulatory standards set by different authorities to ensure the safety and security of its users’ funds. By being regulated and compliant, **Wise** demonstrates its commitment to protecting your money and data.

Furthermore, **Wise** is transparent about its fees and exchange rates, ensuring that you know exactly how much your transfer will cost and how much will be received by the recipient. This transparency helps build trust with users and gives them a clear understanding of the financial aspects of their transactions.

Customer Protections

In the unlikely event that something goes wrong with your transfer, **Wise** offers customer protection measures to safeguard your money. **Wise** has a robust customer support system that you can reach out to if you encounter any issues during your transfer process. Their support team is available to assist you and address any concerns promptly.

Moreover, **Wise** has refund policies in place for certain situations, such as failed transfers or mistaken transactions. If an issue arises that qualifies for a refund, **Wise** will work to resolve the issue and ensure that your money is returned to you promptly. These protections offer reassurance to users in case of unforeseen problems.

Conclusion

**Wise** places a high emphasis on the safety and security of its users’ funds and personal information. By implementing stringent security measures, adhering to regulations, and offering customer protections, **Wise** strives to provide a secure platform for international money transfers. While no system is entirely risk-free, **Wise**’s commitment to safeguarding its users and maintaining transparency instills confidence in the service.

In conclusion, **Wise** is considered safe for conducting your monetary transactions, and its reputation as a trusted and reliable service in the realm of international money transfers continues to grow.


Categories
Blog

How to set up a PayPal account to receive money


Setting Up a PayPal Account to Receive Money

PayPal is a widely-used online payment platform that allows individuals and businesses to send and receive money securely over the internet. If you are looking to receive funds via PayPal, setting up an account is the first step. In this guide, we will walk you through the process of setting up a PayPal account to receive money.

Creating a PayPal Account

The first step in the process is to create a PayPal account. Follow these steps to get started:

Step 1: Visit the PayPal Website

Go to the official PayPal website by typing www.paypal.com into your web browser.

Step 2: Sign Up

Click on the “Sign Up” button on the PayPal homepage. You will be prompted to choose between a “Personal” and “Business” account. Select “Personal” if you are an individual looking to receive money.

Step 3: Enter Your Information

Fill in the required information such as your email address, create a password, and enter your personal details. Make sure to use an email address that you have access to as PayPal will send you a verification email.

Step 4: Verify Your Email Address

Once you have completed the sign-up process, PayPal will send you an email with a verification link. Click on the link to verify your email address.

Setting Up to Receive Money

After creating your PayPal account, you will need to set it up to receive money. Here’s how you can do that:

Step 1: Link a Bank Account

Log in to your PayPal account and go to the “Wallet” tab. Click on “Link a bank account” and follow the prompts to add your bank account details. PayPal uses this information to transfer money to your bank account when you withdraw funds.

Step 2: Verify Your Bank Account

To ensure that your bank account is linked successfully, PayPal will make two small deposits into your bank account. You will need to verify these amounts on the PayPal website to confirm your bank account.

Step 3: Provide Relevant Information

Depending on your location and the amount of money you plan to receive, PayPal may require additional information to comply with regulatory requirements. Make sure to provide any requested information promptly to avoid any delays in receiving funds.

Receiving Money Through PayPal

Once you have set up your PayPal account to receive money, you can start receiving payments from others. Here are a few things to keep in mind when receiving money through PayPal:

Payment Notifications

PayPal will send you an email notification whenever you receive a payment. You can also log in to your PayPal account to view your transaction history and see incoming payments.

Withdraw Funds

When you have funds in your PayPal account, you can either use the money to make online purchases or withdraw it to your linked bank account. To withdraw funds, go to the “Wallet” tab, click on “Withdraw funds,” and follow the instructions.

Transaction Fees

Keep in mind that PayPal may charge transaction fees for receiving money, especially for international transactions or business accounts. Make sure to familiarize yourself with PayPal’s fee structure so you are aware of any charges that may apply.

Conclusion

Setting up a PayPal account to receive money is a straightforward process that allows you to securely receive funds from individuals and businesses around the world. By following the steps outlined in this guide, you can create a PayPal account, set it up to receive money, and start accepting payments with ease.


Categories
Blog

How to transfer money from PayPal to bank

Transferring money from your PayPal account to your bank account is a simple process that can be completed in just a few steps. PayPal offers different options for transferring funds, including standard transfers and instant transfers for a fee. Below, we will walk you through the steps for transferring money from PayPal to your bank account.

Linking your Bank Account to PayPal

To transfer money from your PayPal account to your bank account, the first step is to make sure that your bank account is linked to your PayPal account. If you haven’t already linked your bank account, here’s how you can do it:

1. Log in to your PayPal account.
2. Click on “Wallet” at the top of the page.
3. Under “Banks and Cards,” click on “Link a bank account.”
4. Select your bank from the list or enter your bank’s routing number and account number.
5. Follow the prompts to complete the linking process. PayPal may make two small deposits into your bank account, which you will need to verify to confirm the link.

Once your bank account is linked to your PayPal account, you can proceed to transfer money from PayPal to your bank account.

Withdrawing Funds from PayPal to Your Bank Account

To withdraw funds from your PayPal account to your bank account, follow these steps:

1. Log in to your PayPal account.
2. Click on “Wallet” at the top of the page.
3. Under “Balance,” click “Withdraw Money.”
4. Select the bank account you want to transfer the money to.
5. Enter the amount you want to transfer.
6. Click “Continue” and review the details.
7. Click “Transfer.”

Your transfer should be processed within 1-3 business days, depending on your bank’s processing time.

Instant Transfers

If you need to transfer money immediately, PayPal also offers instant transfers to eligible bank accounts or debit cards for a fee. Here’s how you can make an instant transfer from PayPal to your bank account:

1. Log in to your PayPal account.
2. Click on “Wallet” at the top of the page.
3. Under “Balance,” click “Transfer Money.”
4. Click on “Instant Transfer.”
5. Select your bank account or debit card.
6. Enter the amount you want to transfer.
7. Review the transfer details and click “Transfer.”

Please note that instant transfers may incur a fee, and the transfer limit may vary based on your account status.

Factors to Consider

When transferring money from PayPal to your bank account, there are a few factors to consider:

– **Fees:** While standard transfers are usually free, instant transfers may come with a fee.
– **Processing Time:** Standard transfers typically take 1-3 business days, while instant transfers are immediate.
– **Transfer Limits:** Depending on your account status, there may be limits on how much you can transfer at once.
– **Bank Account Verification:** Make sure your bank account is linked and verified to avoid any delays in the transfer process.

By following these steps and considering the factors outlined above, you can easily transfer money from your PayPal account to your bank account for quick and convenient access to your funds.

Categories
Blog

What is an ABA number and how to find it?

What is an ABA number and how to find it?

ABA routing numbers, also known as routing transit numbers (RTNs), are nine-digit codes used by banks in the United States to identify themselves. The American Bankers Association (ABA) originally created these numbers in 1910 to help facilitate the sorting, bundling, and shipment of paper checks between banks. Each financial institution that is a member of the ABA is assigned a unique ABA number to assist in the processing of various electronic transactions, such as direct deposits, wire transfers, and online bill payments.

Where to Find Your ABA Number

There are a few ways to find the ABA number associated with your bank account:

1. Check Your Checkbook: One of the easiest ways to locate your ABA number is by looking at your personal checks. The nine-digit ABA routing number is typically printed on the bottom left-hand corner of the check, along with your account number and the check number. Make sure to use the correct routing number when setting up electronic transfers to avoid any delays in processing.

2. Contact Your Bank: If you do not have access to your checks or are unable to locate the routing number on them, you can contact your bank directly. Customer service representatives or the bank’s website should be able to provide you with the ABA number associated with your account. It’s important to verify this information with your financial institution to ensure accuracy.

3. Use Online Banking: Most banks offer online banking services that provide account holders with easy access to their routing numbers. Simply log in to your online banking account and navigate to the account information section to view the ABA routing number for your specific account. This is a convenient option for those who prefer to manage their finances digitally.

Why ABA Numbers Are Important

ABA routing numbers play a crucial role in enabling secure and efficient financial transactions. When you provide your ABA number to initiate a direct deposit, wire transfer, or online payment, it helps ensure that the funds are routed correctly to the intended recipient’s bank account. Using the correct routing number is essential for avoiding errors and delays in processing transactions, as providing inaccurate information can result in payments being rejected or misdirected.

Additionally, ABA numbers are used to identify the financial institution where an account is held. This information is vital for verifying the legitimacy of a bank account before conducting any financial transactions. By including the ABA routing number along with the account number, banks can accurately route funds between accounts, regardless of the specific branch or location associated with the account.

In Conclusion

Understanding what an ABA number is and how to find it can help streamline your banking transactions and ensure that your payments are processed accurately and securely. Whether you obtain this information from your checkbook, contact your bank for assistance, or access it through online banking, having easy access to your ABA routing number is essential for conducting various financial activities. By utilizing the correct ABA number for each transaction, you can help facilitate the smooth transfer of funds and minimize the risk of errors or delays in processing.

Categories
Blog

How to use the Wise debit card when you’re abroad

How to use the Wise debit card when you’re abroad

Travelling abroad can be an exciting experience, but navigating foreign currencies and payment methods can be a hassle. Thankfully, with the Wise debit card, managing your finances while overseas has never been easier. Here’s a comprehensive guide on how to make the most of your Wise debit card during your travels.

Benefits of using Wise debit card abroad

Before we delve into the specifics of using your Wise debit card abroad, it’s essential to understand the benefits that come with it. Here are some reasons why the Wise debit card is a top choice for international travelers:

  • No hidden fees: When you use your Wise debit card abroad, you can rest assured that you won’t be hit with any sneaky hidden fees. Wise offers transparent and competitive exchange rates, so you know exactly what you’re paying for.
  • Multi-currency support: The Wise debit card allows you to hold and spend money in multiple currencies, making it convenient for trips to different countries. You can avoid the hassle of converting currency or paying hefty foreign transaction fees.
  • Easy money management: With the Wise app, you can easily track your spending, set budgets, and move money between currencies. This level of control helps you stay on top of your finances while traveling.

Using your Wise debit card abroad

Now that you understand the perks of the Wise debit card, let’s look at how you can use it effectively when you’re abroad:

1. Activate your card and set up your PIN

Before you travel, make sure to activate your Wise debit card and set up your personal identification number (PIN). This step is crucial as you’ll need your PIN to make purchases and withdraw cash during your trip.

2. Notify Wise about your travel plans

For security purposes, it’s a good idea to inform Wise about your travel plans. This way, they’ll be aware that you’ll be using your card in different locations, reducing the risk of any unexpected issues with your account.

3. Use the Wise app for seamless money management

The Wise app is your best companion when it comes to managing your finances abroad. You can check your balance, review transactions, and instantly convert money between currencies using the app. This real-time control ensures that you’re always aware of your financial situation.

4. Make purchases with your Wise debit card

One of the primary ways to use your Wise debit card abroad is to make purchases at stores, restaurants, and other establishments. Simply swipe or insert your card at the point of sale and follow the on-screen instructions to complete the transaction.

5. Withdraw cash from ATMs

When you need local currency, you can withdraw cash from ATMs using your Wise debit card. Be sure to look for ATMs that display the Visa or Mastercard logos to ensure compatibility with your card. Keep in mind that there may be ATM withdrawal fees depending on the location.

6. Monitor your transactions regularly

While using your Wise debit card abroad, it’s essential to monitor your transactions regularly. Check your account activity through the Wise app to detect any suspicious charges or errors. Promptly reporting any discrepancies to Wise can help protect your funds.

7. Take advantage of the Wise card’s features

Besides basic spending and withdrawal capabilities, the Wise debit card offers additional features that can enhance your travel experience. Some of these features include fee-free spending in your home currency, instant notifications for transactions, and the ability to lock and unlock your card via the app for added security.

Final thoughts

Using the Wise debit card when you’re abroad is a convenient and cost-effective way to manage your finances while traveling. By following the tips and guidelines outlined in this guide, you can make the most of your Wise debit card and enjoy a stress-free international experience. Remember to stay informed, keep track of your spending, and take advantage of the card’s features to ensure a smooth journey.

Categories
Blog

How to send money through Apple Pay

Sending money through Apple Pay is a quick and convenient way to transfer funds to family and friends. It’s as simple as using your iPhone, iPad, or Apple Watch to securely send payments. Whether you need to split a bill, pay for a group gift, or send money to a loved one, Apple Pay makes it easy to make peer-to-peer payments.

**Setting up Apple Pay**

To send money through Apple Pay, the first step is to set up Apple Pay on your device. Follow these steps to get started:

1. **Open the Wallet app**: Launch the Wallet app on your iPhone or iPad.
2. **Add a card**: Click on the “+” sign to add your debit or credit card to Apple Pay. You can also use the camera to capture your card details.
3. **Verify your card**: Follow the on-screen instructions to verify your card for Apple Pay.
4. **Set up Touch ID**: If your device supports Touch ID, you can set it up for added security.
5. **Set up Face ID**: For devices with Face ID, follow the steps to enable this feature.
6. **Agree to terms and conditions**: Ensure that you read and agree to the terms and conditions for Apple Pay.

Once you have set up Apple Pay on your device, you can proceed to send money to others using this convenient payment method.

**Sending money through Messages**

One of the easiest ways to send money through Apple Pay is by using the Messages app. Here’s how you can do it:

1. **Open the Messages app**: Launch the Messages app on your iPhone or iPad.
2. **Select a conversation**: Choose the conversation with the person you want to send money to.
3. **Tap the Apple Pay icon**: Click on the Apple Pay icon in the message field.
4. **Enter the amount**: Type in the amount you want to send.
5. **Authenticate with Touch ID or Face ID**: Use Touch ID or Face ID to verify the payment.
6. **Tap send**: Click on the send button to complete the transaction.

The recipient will receive the money in their Apple Pay Cash account, which they can then use to make purchases or transfer to their bank account.

**Sending money through Siri**

Another convenient way to send money through Apple Pay is by using Siri. Follow these steps to send funds using voice commands:

1. **Activate Siri**: Hold down the Home button on your device or say “Hey Siri” to activate Siri.
2. **Say the command**: For example, you can say “Send $50 to John for dinner.”
3. **Confirm the payment**: Siri will ask you to confirm the payment amount and recipient.
4. **Authenticate with Touch ID or Face ID**: Use Touch ID or Face ID to authenticate the transaction.
5. **Complete the payment**: Once verified, Siri will send the money to the specified recipient.

Sending money through Siri is not only quick but also hands-free, making it a convenient option for those on the go.

**Sending money through the Wallet app**

If you prefer a more direct approach, you can also send money through the Wallet app. Here’s how:

1. **Open the Wallet app**: Launch the Wallet app on your device.
2. **Tap on Apple Pay Cash card**: Select your Apple Pay Cash card in the Wallet app.
3. **Tap on the “…” icon**: Click on the “…” icon in the top right corner.
4. **Choose “Transfer to Bank” or “Transfer to Card”**: Select the option to transfer funds to a bank account or debit card.
5. **Enter the amount**: Type in the amount you wish to transfer.
6. **Authenticate the transfer**: Use Touch ID or Face ID to authenticate the transfer.
7. **Confirm the transfer**: Verify the transfer details and click confirm to complete the transaction.

Your funds will be transferred to the designated account within a few business days, depending on your bank’s processing time.

**Sending money through websites and apps**

Apple Pay can also be used to make payments on websites and within apps. When making a purchase online, look for the Apple Pay logo at checkout. Follow these steps to send money through websites and apps:

1. **Select Apple Pay at checkout**: When you’re ready to pay, choose Apple Pay as your payment method.
2. **Authenticate the transaction**: Use Touch ID or Face ID to authenticate the payment.
3. **Complete the transaction**: Once verified, the payment will be processed, and you will receive a confirmation of the transaction.

Sending money through websites and apps with Apple Pay is secure and convenient, as it eliminates the need to enter your payment and shipping information each time you make a purchase.

**Security and privacy**

Apple Pay is designed with security and privacy in mind, making it a safe way to send money. When you send money through Apple Pay, your card details are not stored on your device or shared with merchants. Instead, a unique token is used for each transaction, ensuring that your sensitive information remains secure.

With features like Touch ID and Face ID, only you can authorize payments from your device, adding an extra layer of security. Additionally, Apple Pay transactions are encrypted end-to-end, further safeguarding your financial data.

In the event that your device is lost or stolen, you can remotely disable Apple Pay using the “Find My” app to prevent unauthorized transactions. You can also set up two-factor authentication for added protection when sending money through Apple Pay.

**Conclusion**

Sending money through Apple Pay is a convenient and secure way to transfer funds to family and friends. Whether you use the Messages app, Siri, the Wallet app, or make payments on websites and apps, Apple Pay offers a variety of options for sending money with ease.

By setting up Apple Pay on your device and following the simple steps outlined above, you can quickly and securely send payments to recipients using your iPhone, iPad, or Apple Watch. With built-in security features and user-friendly interfaces, Apple Pay makes peer-to-peer payments a seamless experience for users.

Categories
Blog

How to Connect PayPal to Cash App – Step by Step Guide

Introduction

In this digital age, transferring money between accounts has never been easier. Two popular platforms for sending and receiving money are PayPal and Cash App. If you want to link your PayPal account to Cash App for seamless transactions, you’ve come to the right place. In this step-by-step guide, we will walk you through the process of connecting your PayPal account to Cash App.

Step 1: Open Cash App

The first step is to open the Cash App on your mobile device. If you don’t have the app already, you can download it from the App Store or Google Play Store. Once you have installed the app, open it and log in to your account using your mobile number or email address.

Step 2: Access the Settings

Once you are logged in to your Cash App account, locate and tap on the profile icon or the “Profile” tab to access your account settings. This can usually be found in the bottom right corner of the screen.

Step 3: Select “Linked Accounts”

Within the settings menu, look for the option that says “Linked Accounts” and tap on it. This is where you can link external accounts such as your bank account or credit/debit cards.

Step 4: Choose “PayPal”

Under the “Linked Accounts” section, you will see a list of supported accounts that you can link to Cash App. Look for the PayPal option and select it to begin the linking process.

Step 5: Log in to Your PayPal Account

Cash App will prompt you to log in to your PayPal account. Enter your PayPal credentials (email and password) to authorize the linking of your PayPal account to Cash App.

Step 6: Confirm the Link

After successfully logging in to your PayPal account, you will be asked to confirm the link between your PayPal and Cash App accounts. Review the information displayed on the screen and confirm to proceed with the linking process.

Step 7: Linking Successful

Once you have confirmed the link, you will receive a notification indicating that the linking process was successful. Your PayPal account is now connected to your Cash App, and you can use it to send or receive money within the app.

Benefits of Linking PayPal to Cash App

There are several benefits to linking your PayPal account to Cash App. One major advantage is the ability to transfer funds between the two platforms seamlessly. This means you can use your PayPal balance to make purchases or send money through Cash App, and vice versa.

Additionally, linking PayPal to Cash App can provide you with more flexibility when it comes to managing your finances. You can easily switch between the two accounts to take advantage of different features and benefits offered by each platform.

In Conclusion

Connecting your PayPal account to Cash App can enhance your financial transactions and make it more convenient for you to send and receive money. By following the steps outlined in this guide, you can easily link your accounts and enjoy the benefits of seamless fund transfers.